Homemade Pastrami

Check out our Homemade Pastrami recipe featured by our friends at The Food Tasters! Its a great site for great food and all things Pittsburgh.
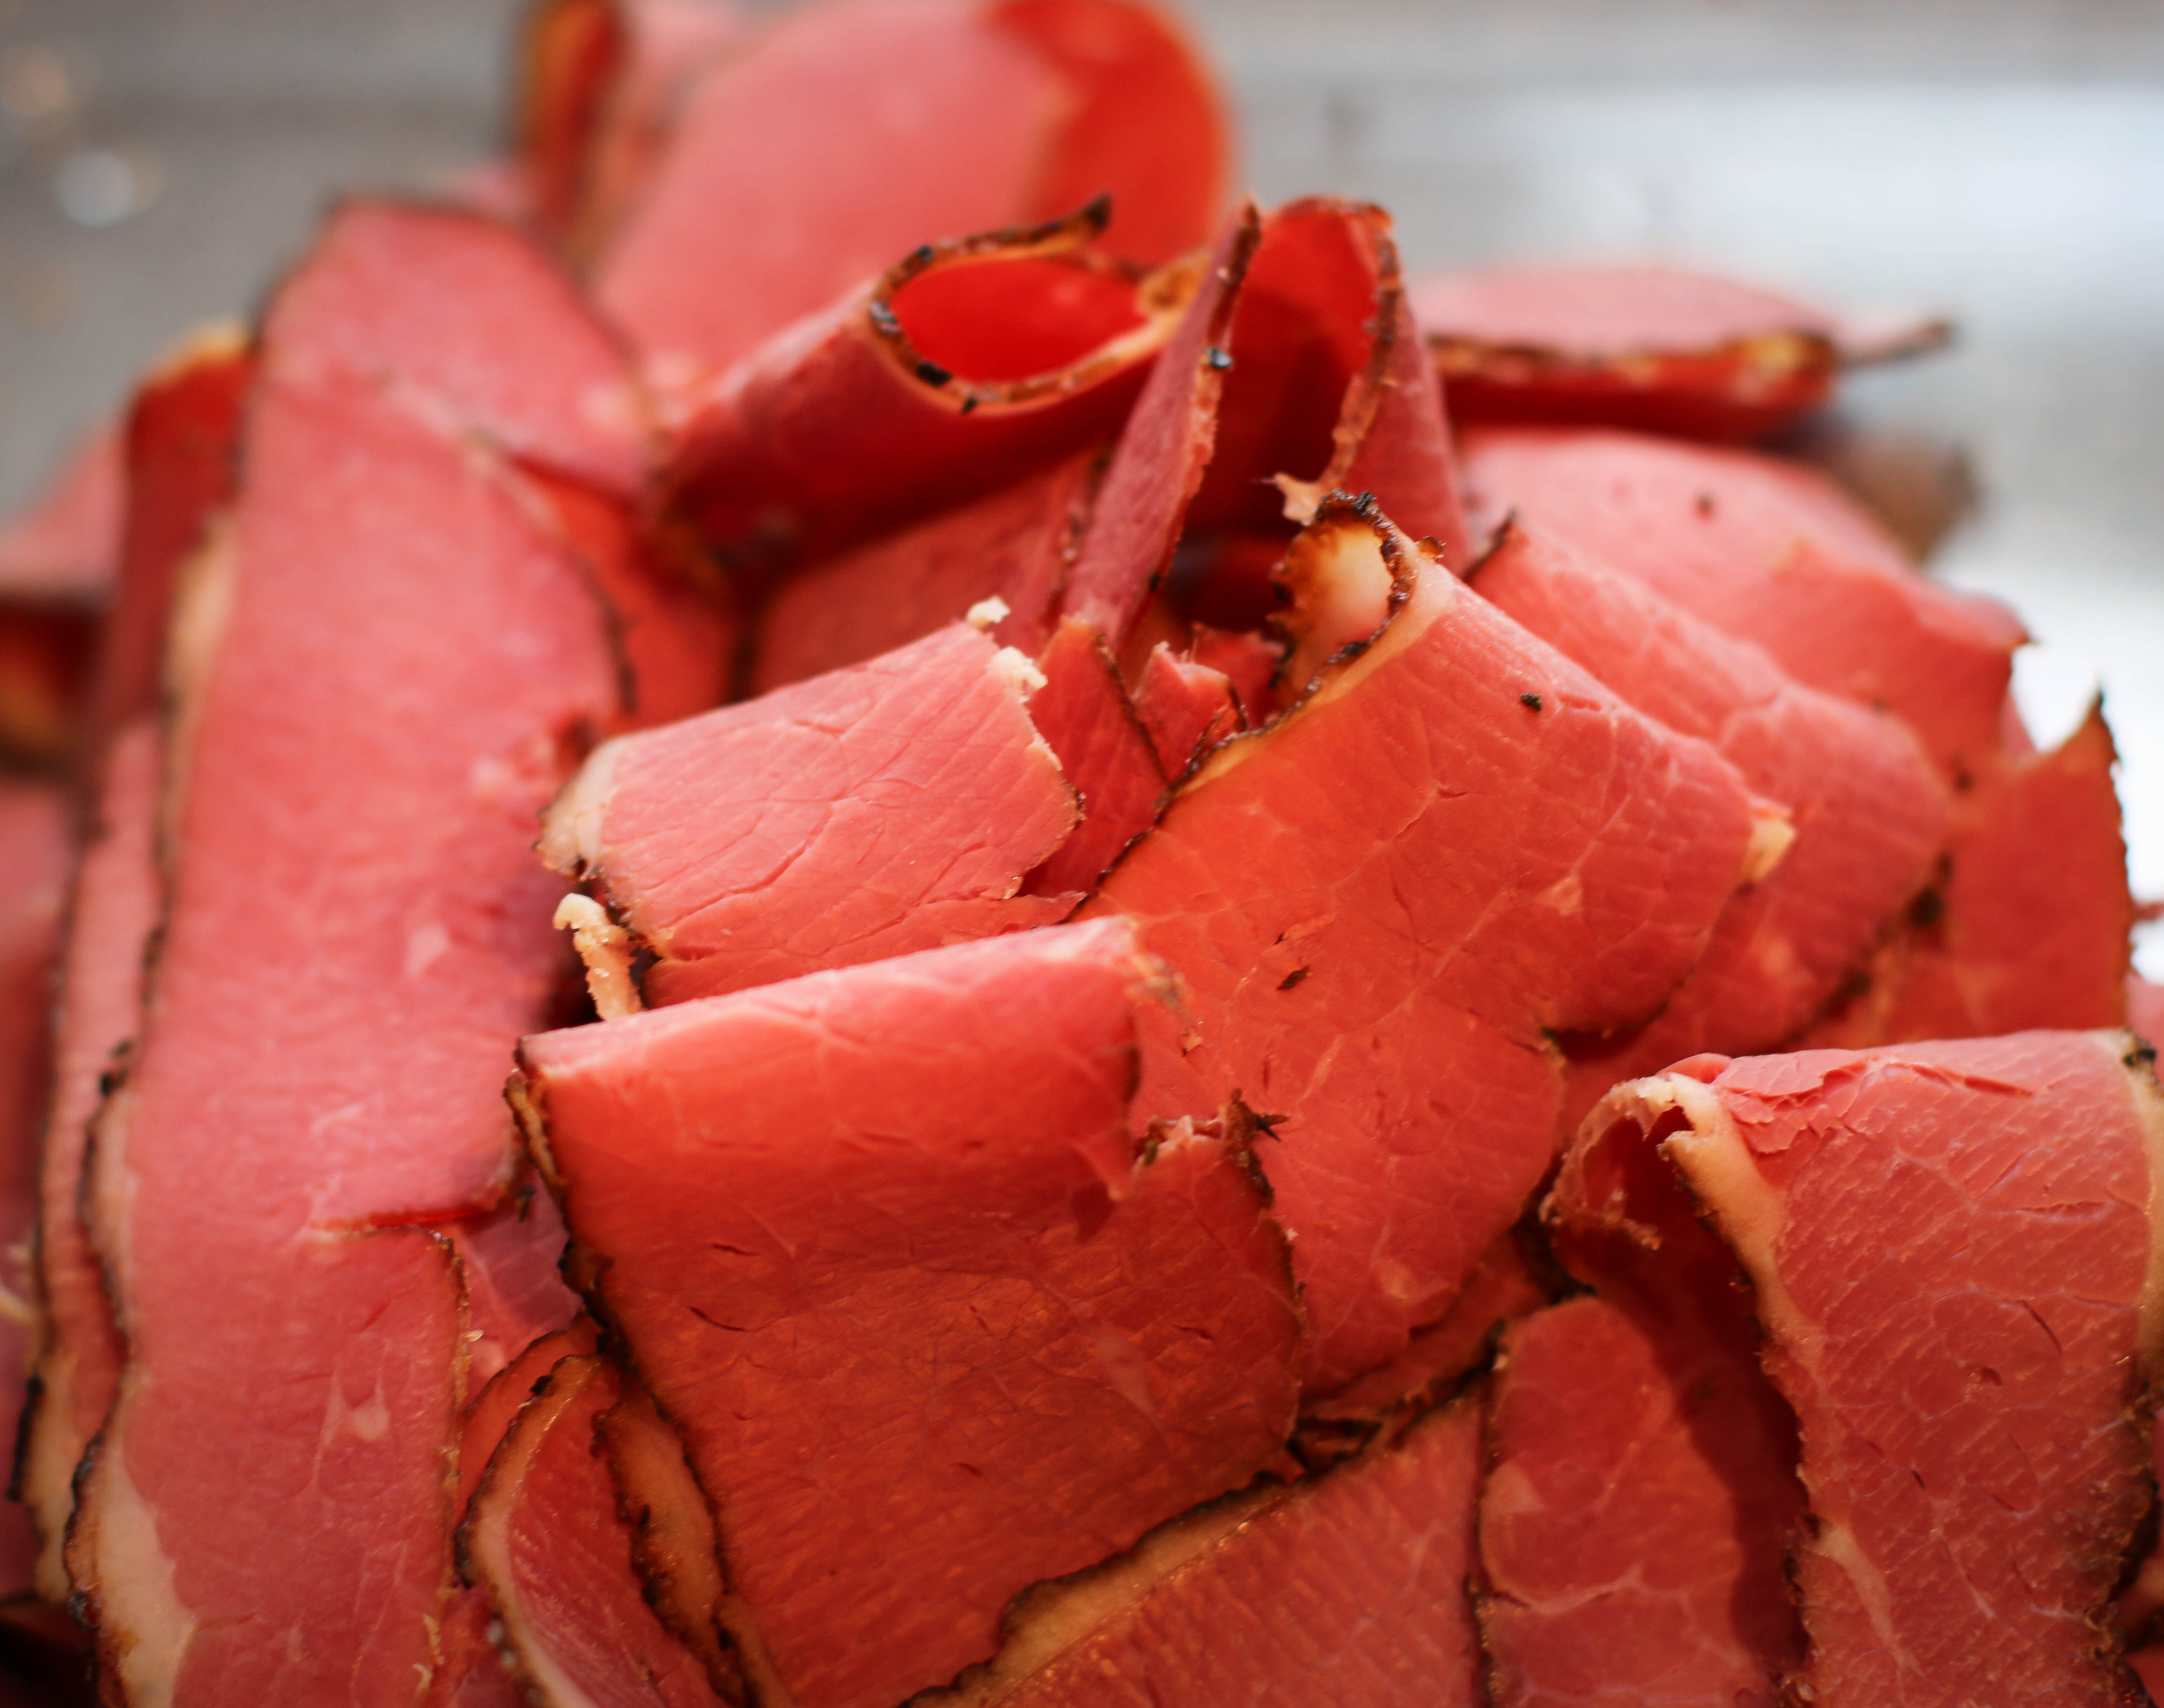
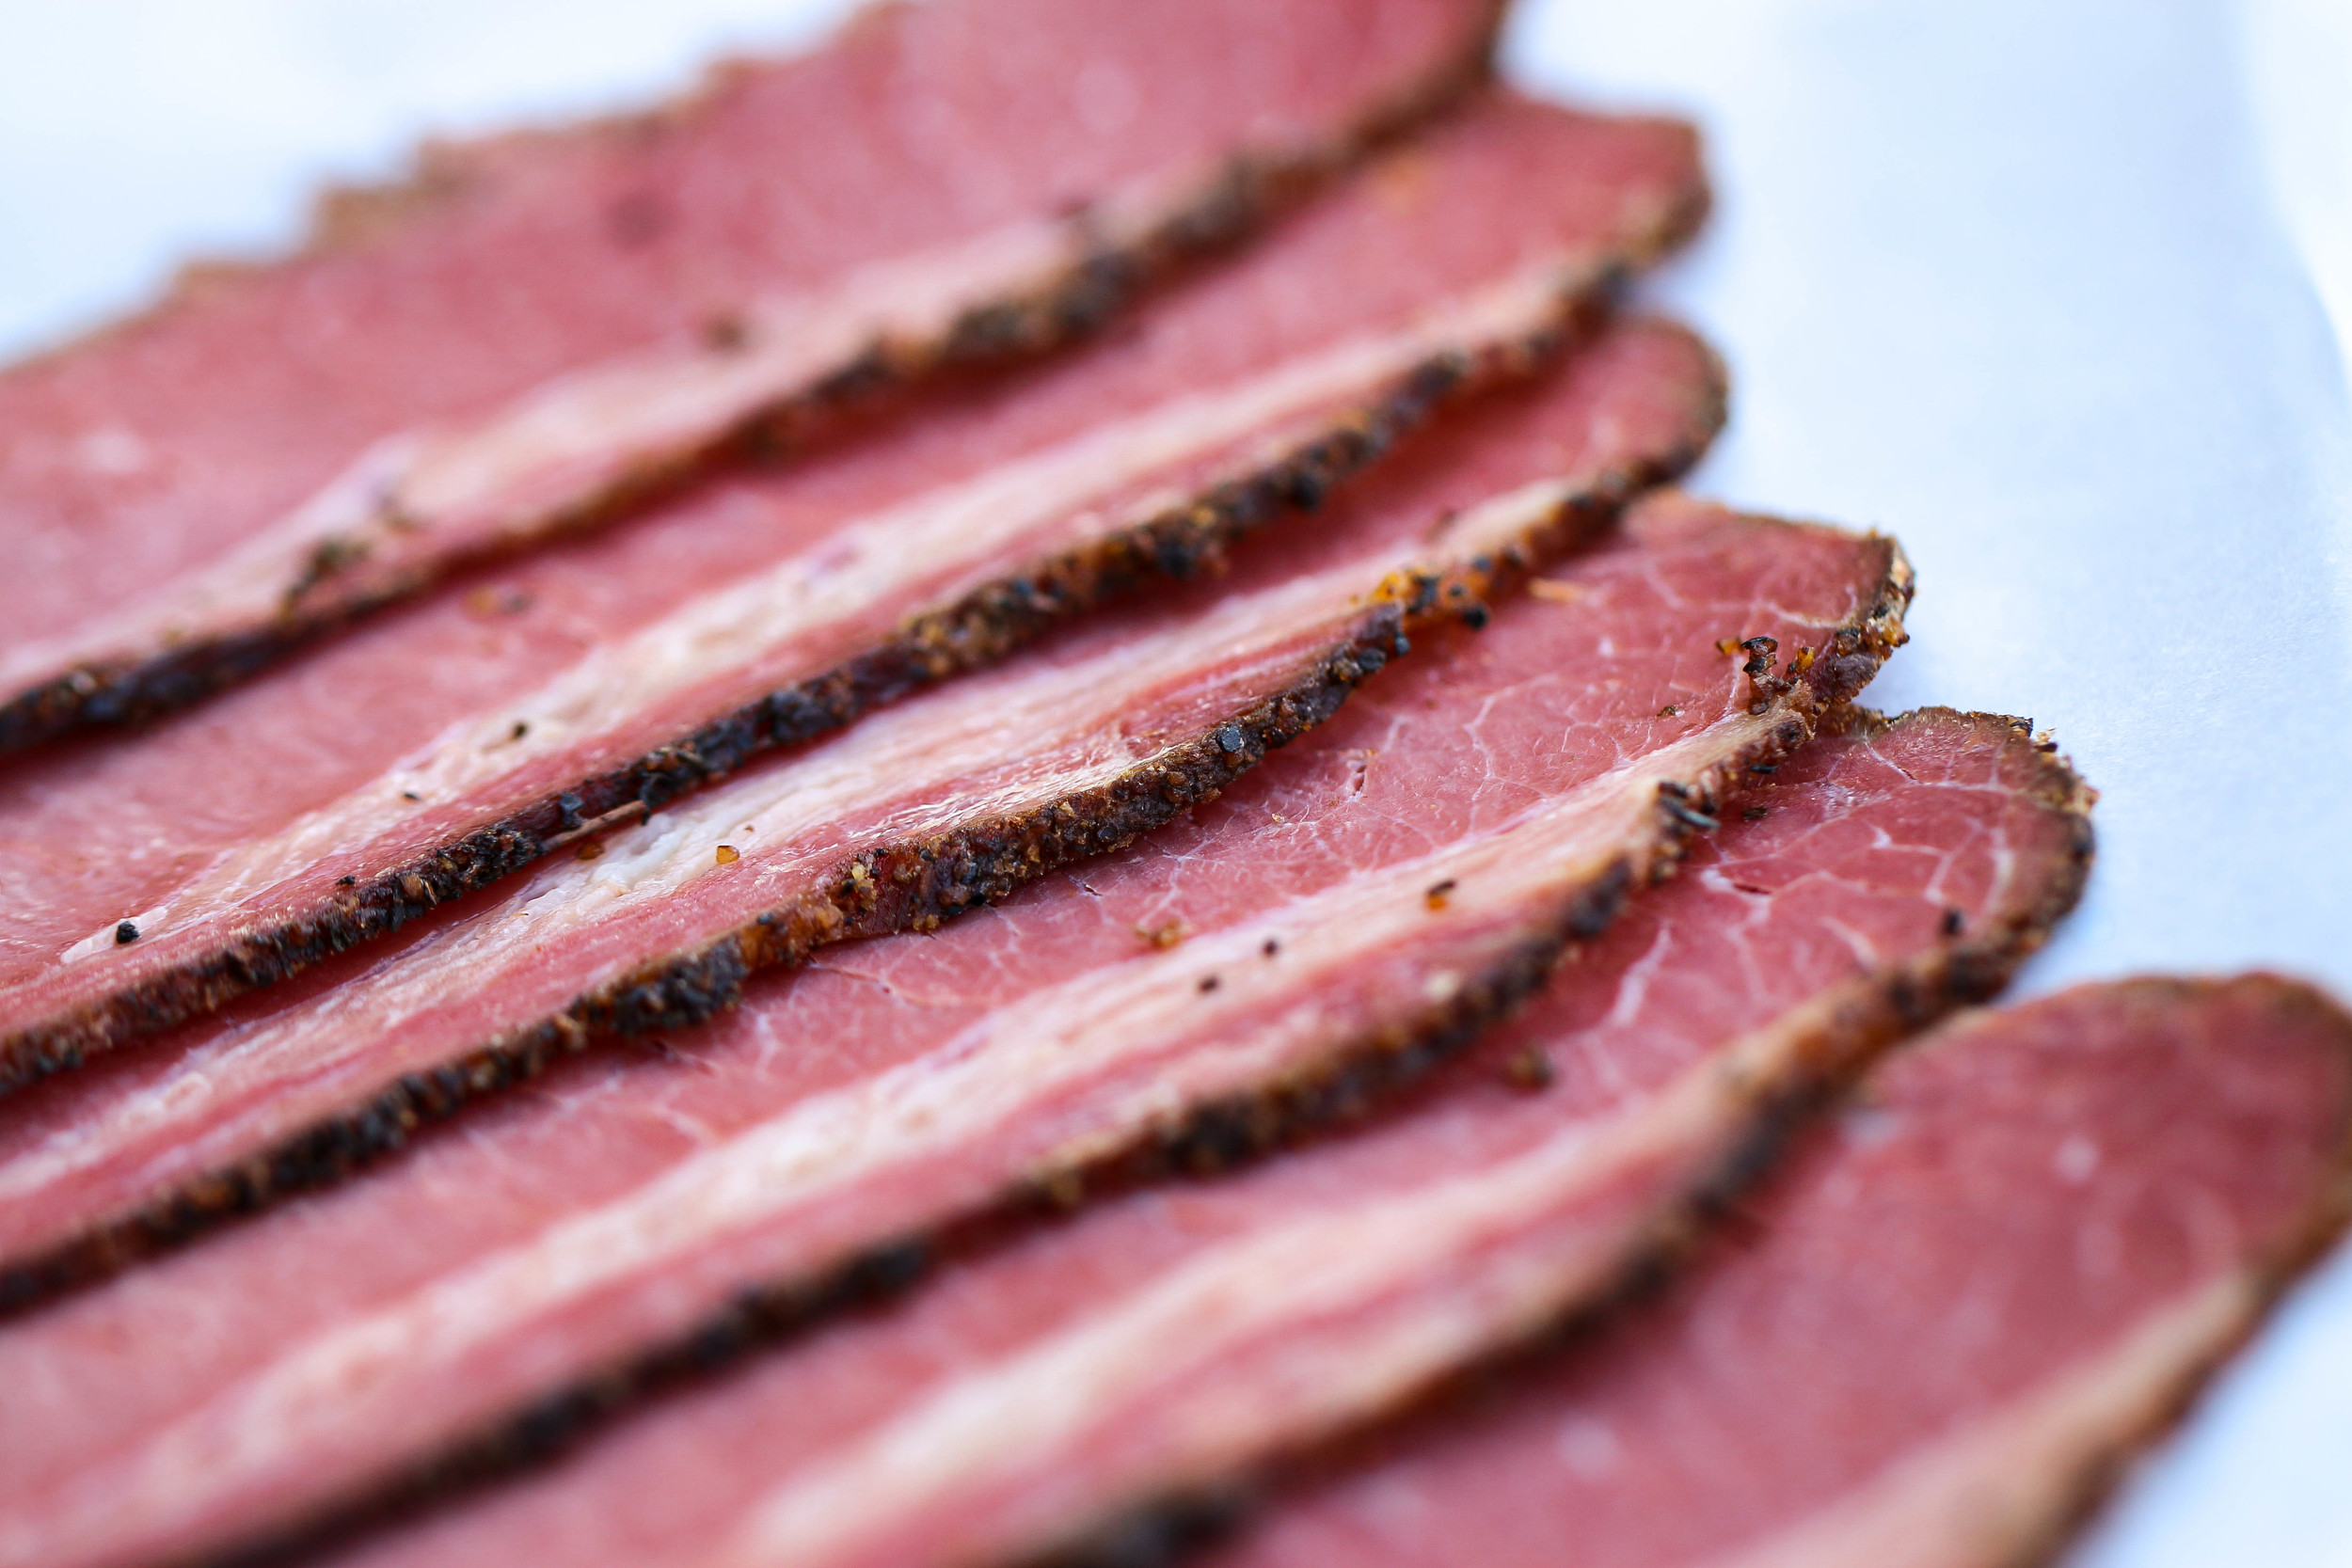
We have a soft spot for home-cured meats, and often find ourselves making variations on these traditional brined and smoked delicacies. While corned beef was our gateway meat, Homemade Pastrami is our latest passion. The name Pastrami comes to us from Yiddish, and appears to have originated as traditional wind-dried beef in what is now Romania. Our Homemade Pastrami develops layers of flavor through a two step process of brining and smoking. The brisket first cures for 6 days in a brine infused with cloves, black pepper, thyme, and garlic before finishing for 11 hours in the smoker. The resulting meat is unbelievably good, especially on a homemade Reuben!

Ingredients:
- 6 pounds beef brisket
- 2 cups kosher salt
- 2 ounces curing salt
- 2 quarts water
- 1/4 cup garlic powder
- 4 tablespoons ground black pepper
- 2 tablespoons onion powder
- 1 tablespoon mustard powder
- 1 tablespoon dried thyme
- 1/2 tablespoon ground cloves
- About 3 tablespoons coarsely ground black pepper, for finishing
Steps:
- Buy the best brisket you can find. Yes, it gets expensive, but the underlying quality of the meat does shine through in this recipe. If you can afford grass-fed from a local butcher, this would be a good time to do it.
- Whisk the brine ingredients (salt, curing salt, water, garlic powder, pepper, onion powder, mustard, thyme, and cloves) together in a large bowl until the salts are dissolved. You may be thinking the curing salt is optional. It is not in this case. The sodium nitrate in the curing salt keeps nasty bacteria like botulinum from growing during the prolonged curing and slow cooking. You may also be thinking the quantity of salt is unnecessary, but it really is critical to the curing and flavoring process. 95% of the salt will be poured off with the brine at the end and never eaten.
- Rinse off the brisket and pat it dry. One side of the brisket will likely have a thick layer of fat. Do your best to trim this off with a sharp knife. For optimal flavor, you'd like to leave a thin (16th inch) layer of fat to melt over the brisket as it cooks.
- If you have a meat injector, this is your chance to use it. Fill the syringe with brine and inject it into the brisket, forming small pockets every 1-2 inches, trying to inject it about halfway through the thickness of the meat. You'll be injecting about 1/2 cup total of brine. If you don't have an injector, make a deep cut every 2-3 inches everywhere that the meat is more than an inch and half thick. Your goal in injection (or scoring the meat with cuts) is to allow the brine to penetrate the meat evenly. This helps with flavor, but importantly, allows the curing salt access to the interior of the meet to keep bacteria from spoiling the meat as it cures.
- Put the meat into a large zip-top bag, pour in all the brine you can fit, squeeze out the air, and seal the bag. I double-bag and put the bag in a bowl just to make sure it does not leak.
- Cure the meat in the refrigerator for about 6 days (minimum 5 days, maximum 7 days). Flip the bag a few times during curing to make sure there is even contact with the meat.
- After curing is finished, dump off the brine and pat the meat dry. Generously sprinkle coarsely ground black pepper over all sides of the brisket, patting firmly down. Shake off the excess pepper and you are ready to cook!
- If you have a smoker, heat it to 190 degrees. The meat will cook for approximately 11 hours at this temperature. I like my Pastrami lightly smoked with pecan wood, but experiment with what you have. If you don't have a smoker, you can easily cook it in an oven as well. If cooking in the oven, add 2-3 drops of liquid smoke to the brine in step 2. There is a huge variety of quality in liquid smokes available, I prefer Lazy Kettle's for its subtle natural flavor. Put your oven on the lowest temperature possible, reducing the listed cook time by 1 hour for every 10 degrees over 190 (for example cook for 10 hours at 200, or 9 hours at 210).
- When the cook time is up, remove the finished meat and allow it to cool for 1-2 hours at room temperature covered with a piece of foil. Chill the meat down in the freezer for 2-3 hours covered in foil or in a bag for optimal slicing.
- Slice thinly, either by hand with your sharpest knife, on a mandolin, or with a food slicer. It is ready to eat! You can seal the leftovers and freeze for up to 3 months.