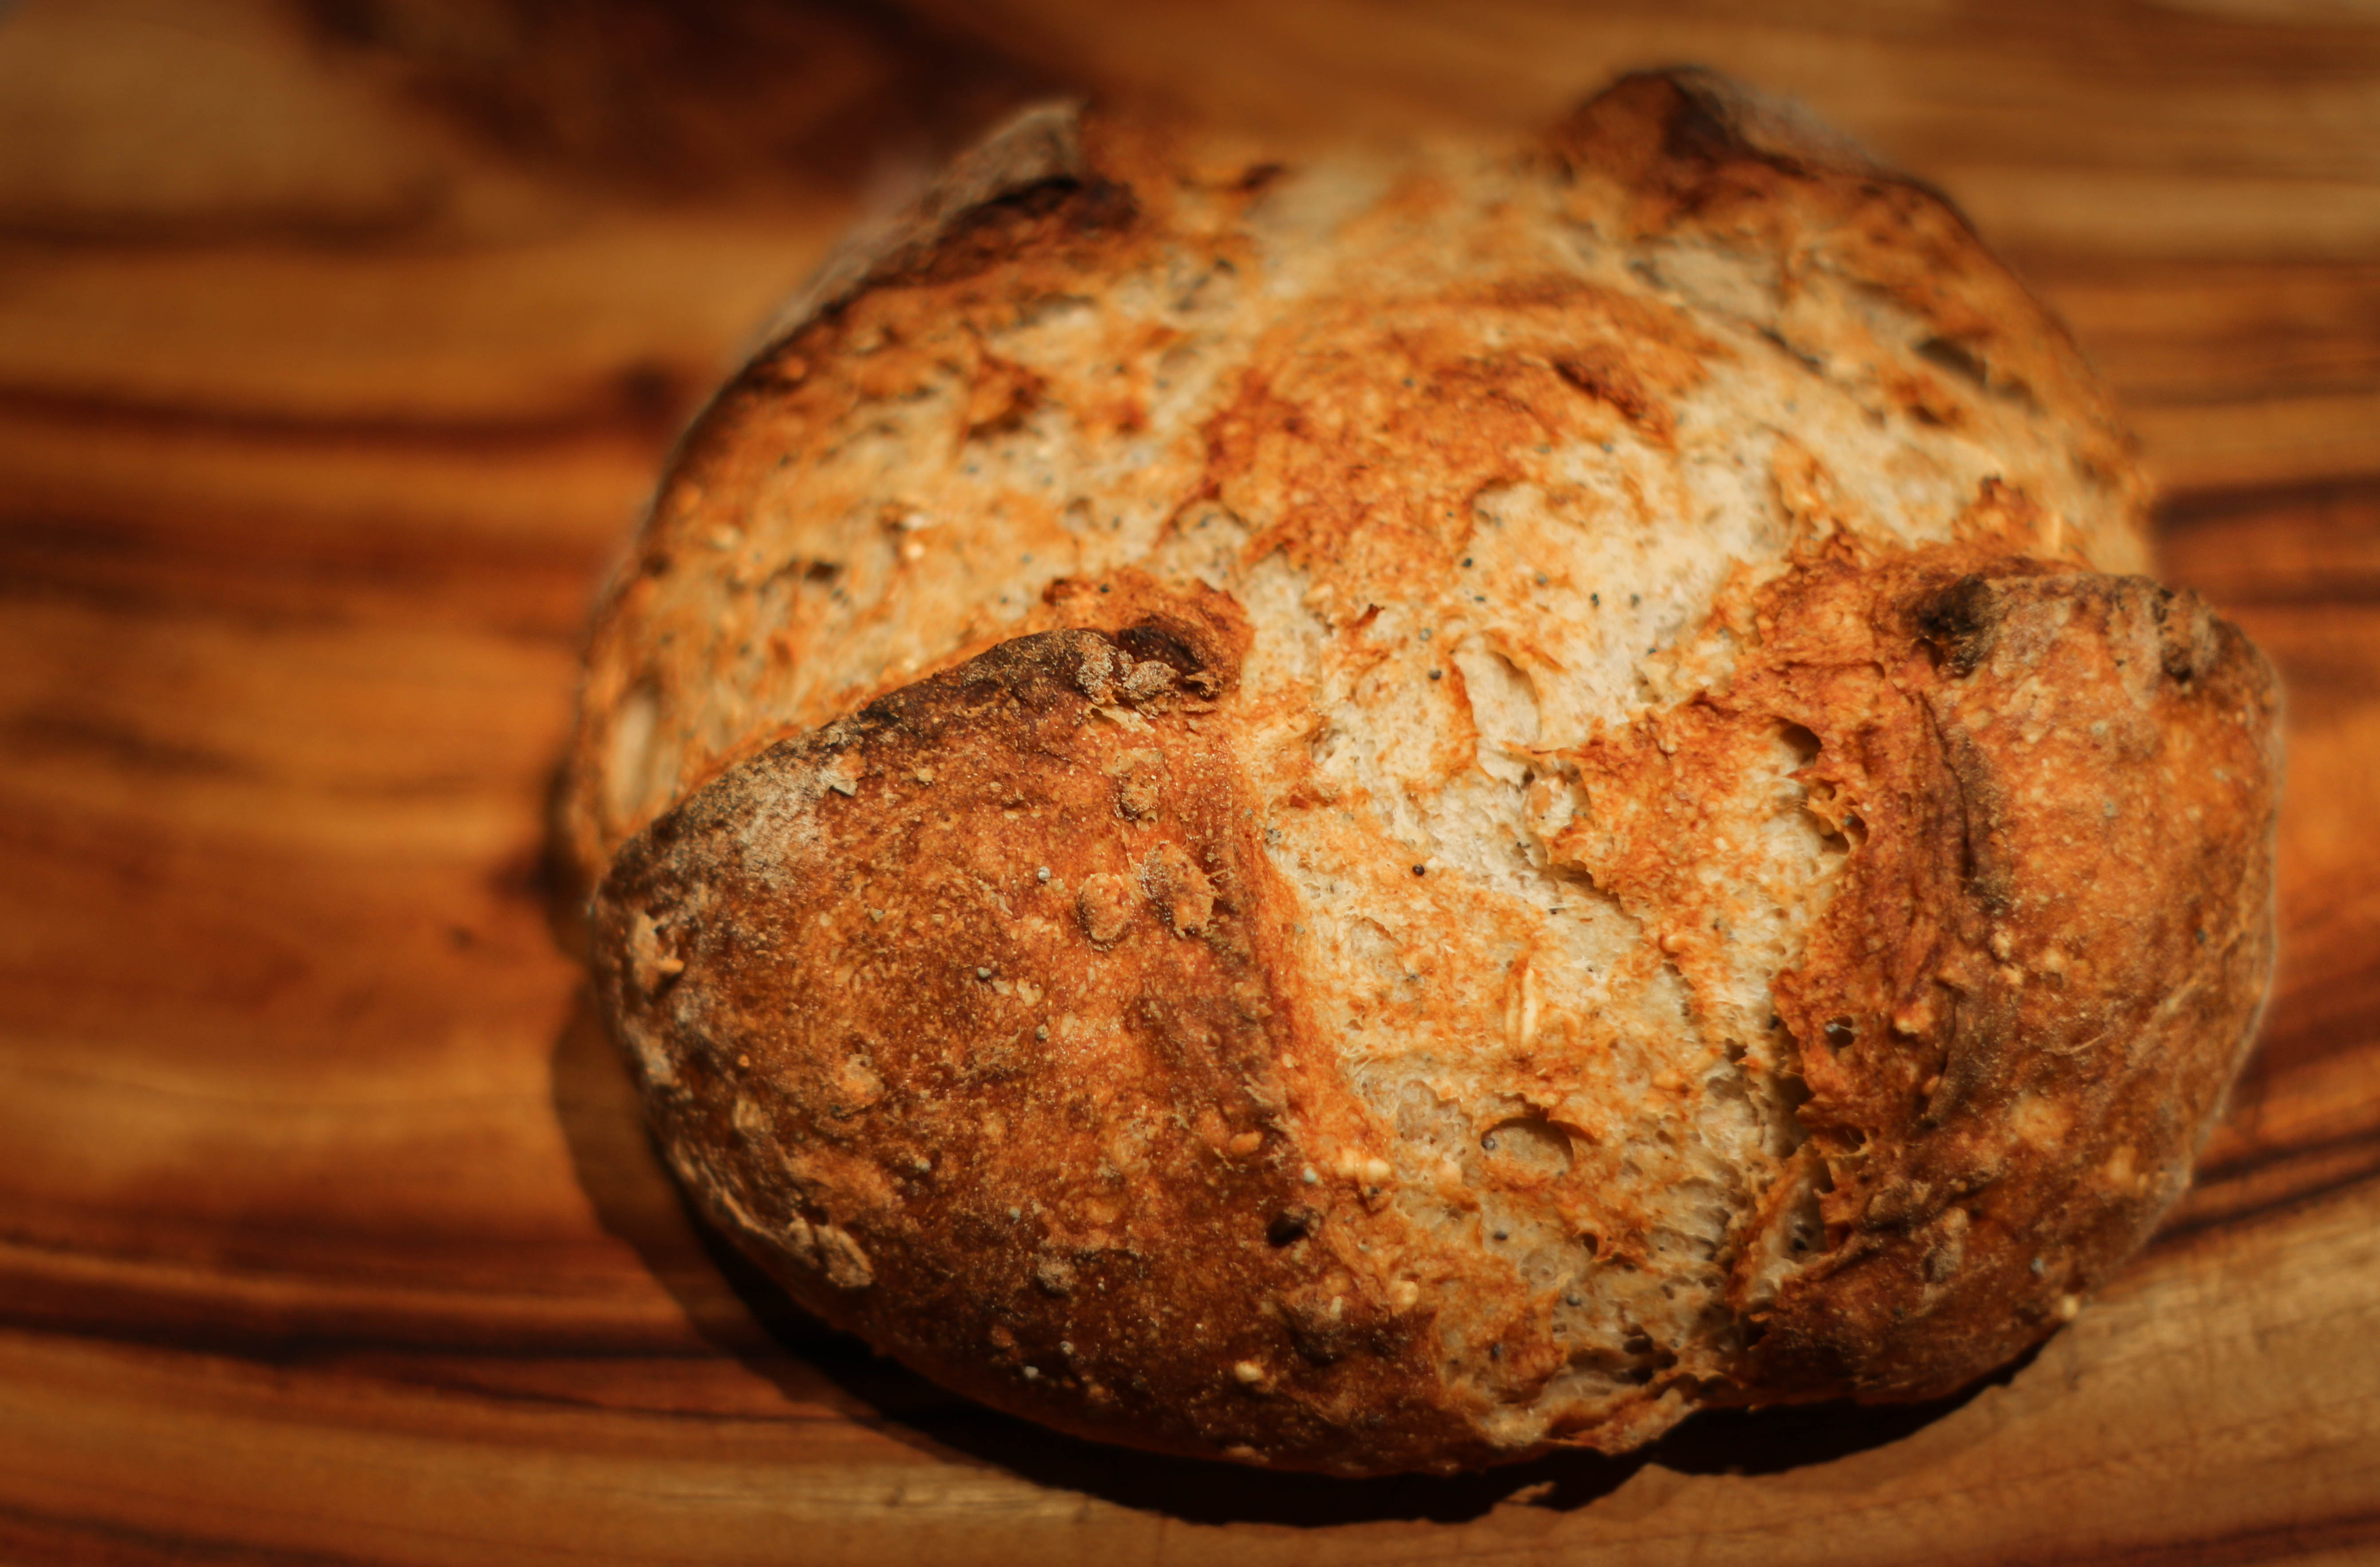
Paul's Honey Oat Bread


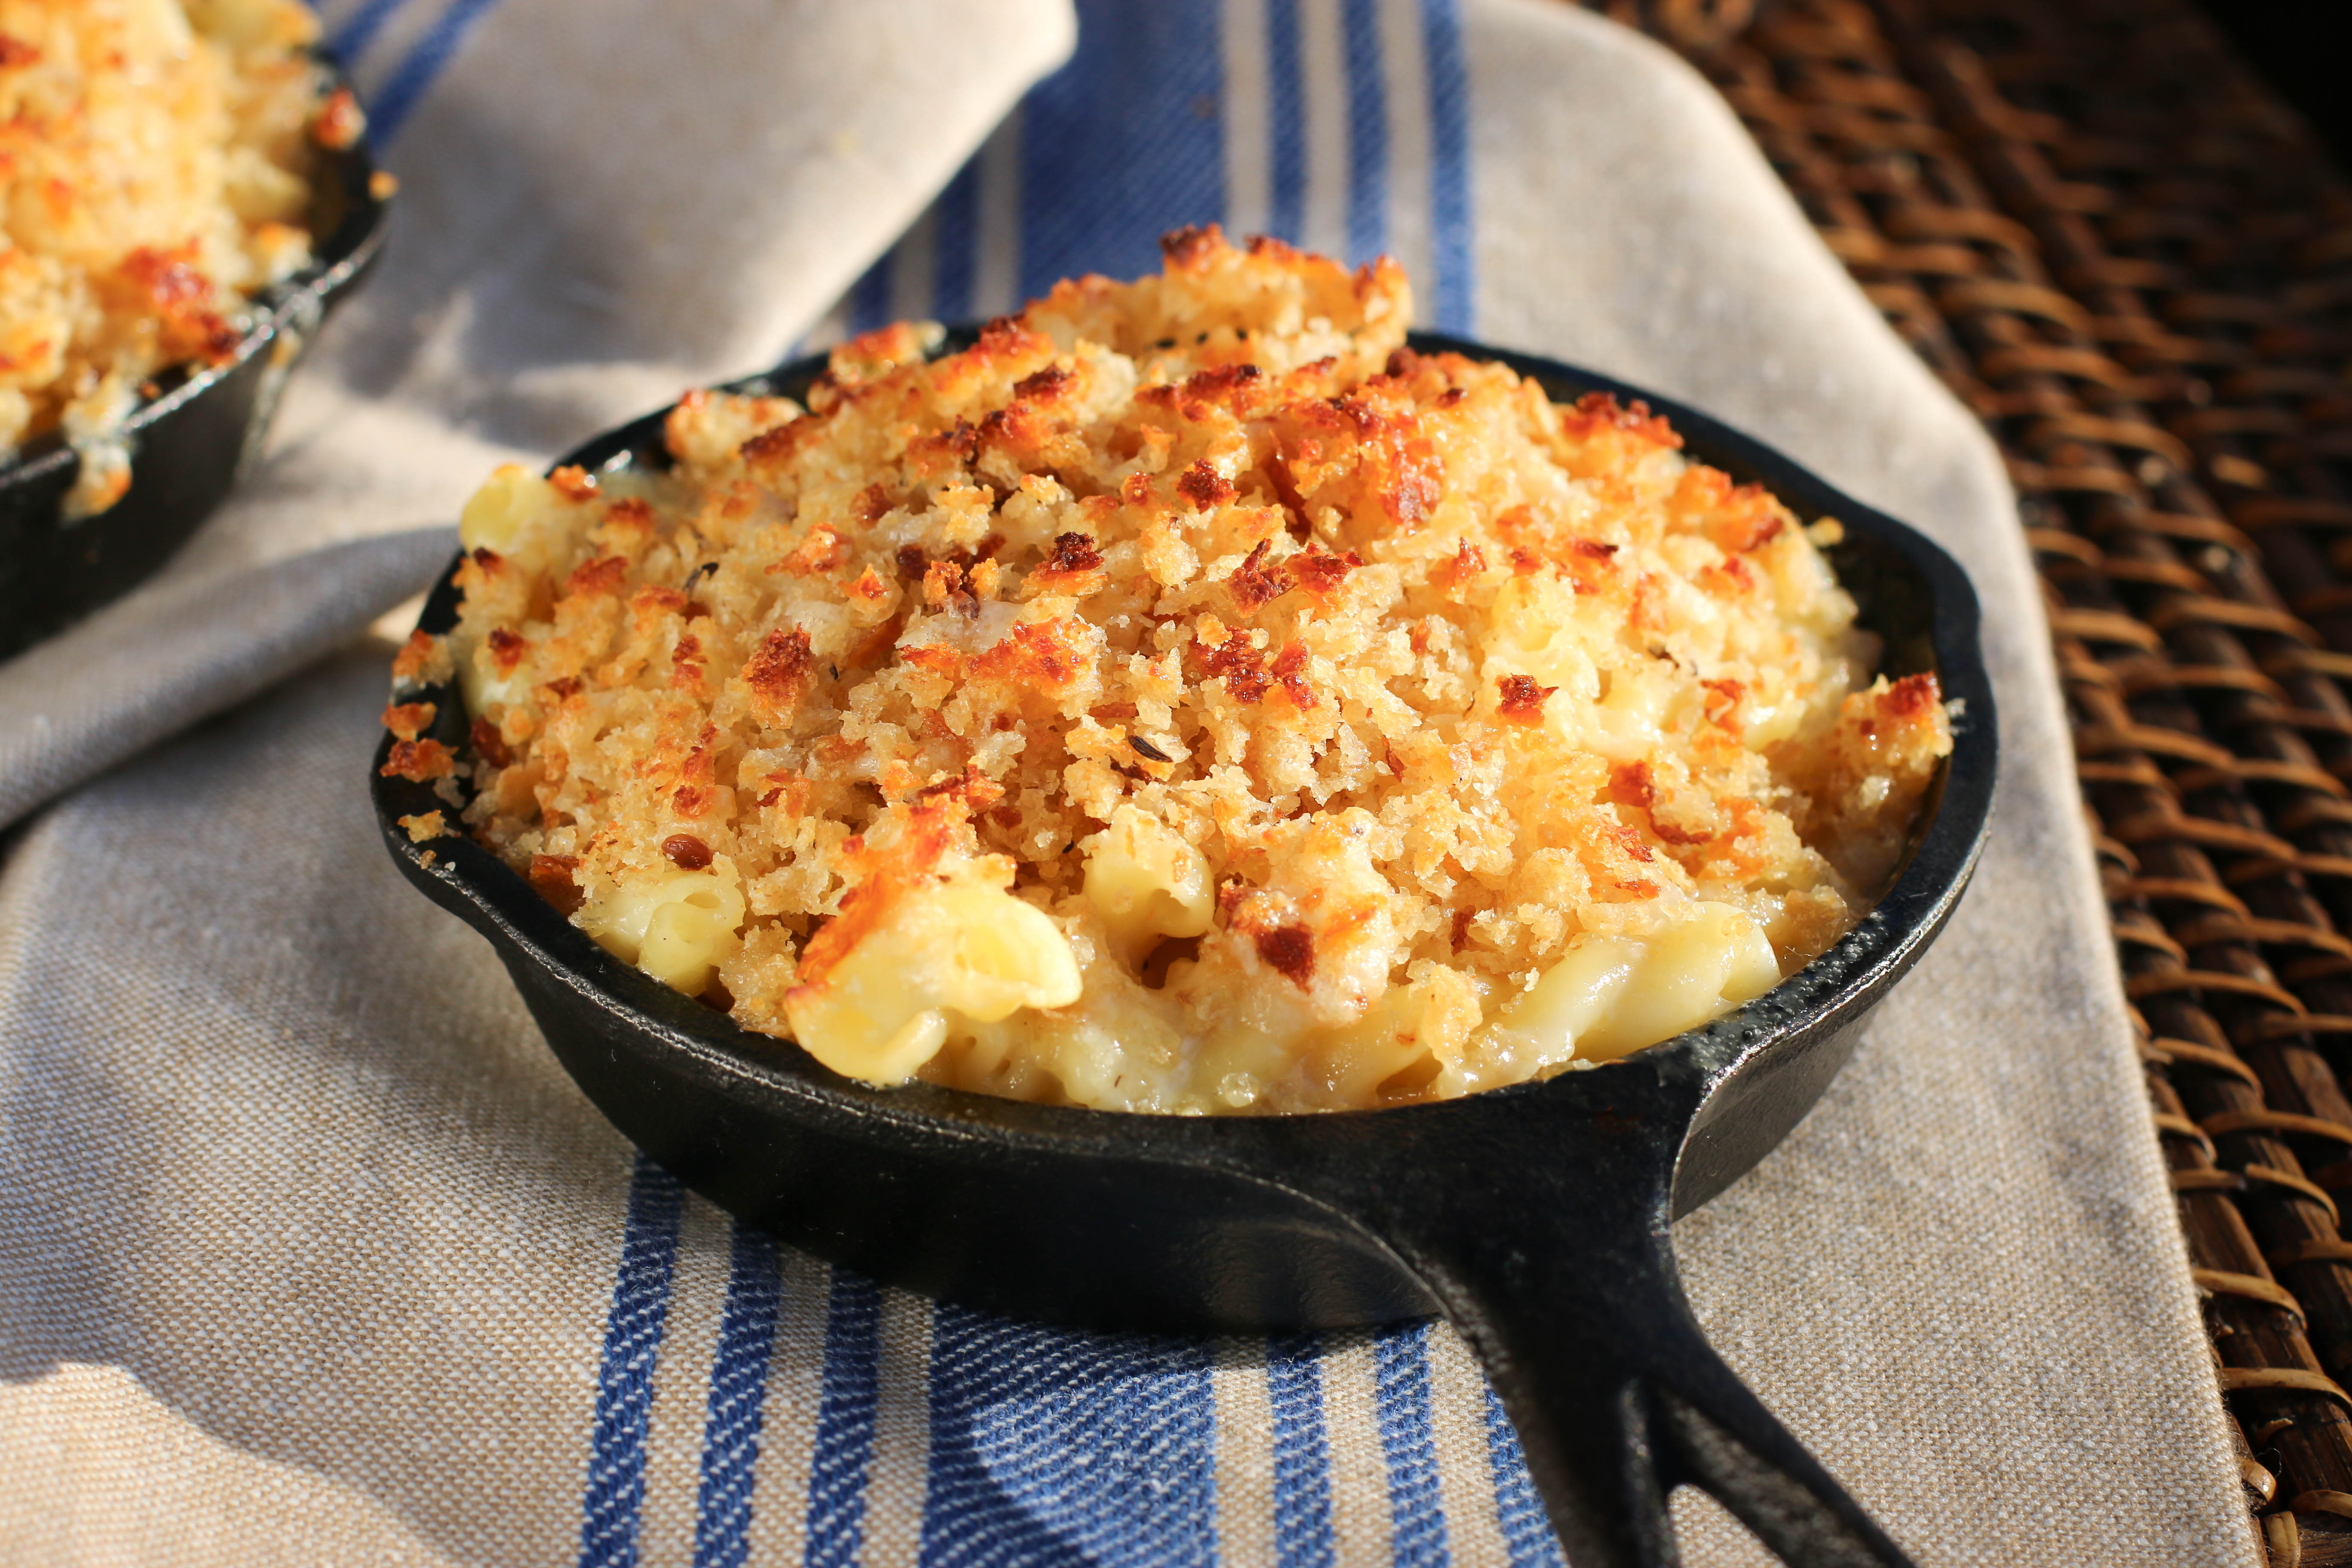
It is election weekend here in Haiti, which means comfort food is definitely in order. While elections anywhere can cause unease, unrest, and extreme emotions, in a country with few peaceful democratic precedents, a mood of wary watchfulness prevails. Back from travels and faced with an empty cupboard and blaring radio, I opted for one of my favorite comfort foods -- fresh baked Honey Oat Bread. This bread is easy to make, and the results are sublime. If you haven't made bread before, this a great place to start. Honey Oat Bread is fantastic as a sandwich base, as french toast, made into bread pudding, dolloped with fresh guava jam, or my personal favorite, smothered with honey and butter.


Yield: 1 large loaf (2 small loaves)
Ingredients:
- 1 1/2 cups milk (slightly warmed, should not feel hot)
- 3/4 tablespoons active dry yeast
- 3 1/2 cups all-purpose flour (plus more to shape the loaf)
- 1 cup old-fashioned rolled oats
- 1/4 cup honey
- 1 tablespoon butter (softened)
- 3/4 tablespoons kosher or sea salt (if using table salt, use half this amount)
Steps:
- In a small cup or bowl, mix together milk and yeast and stir to dissolve
- In a large mixing bowl, combine all of the remaining ingredients (flour, oats, honey, butter, and salt) and dump in the milk/yeast mixture. Using your hands (or a mixer if you prefer) fully mix together the ingredients (scrapping down the sides of the bowl to ensure the mixture is fully and evenly mixed). The dough will be very wet and sticky. Don't worry, the oats will soak up a lot of the extra liquid while it rests. Cover and set the dough aside to rise for 2 hours (it will roughly double in size).
- Dump out the dough onto a well-floured work surface (this is most conveniently done on a silicone mat for easy clean up). This stage does not require kneading (as usually defined), but more shaping and stretching as you work in enough flour to make the dough manageable. Working in extra flour as needed, shape the dough into a ball, stretching the top out and back under the loaf each time as you go. Try not to break the top skin as you pull, tuck, and shape the dough. While not full-on kneading, this develops the gluten in the flour, creating the texture and lift you are looking for. Continue shaping and stretching process for 2-3 minutes, working in extra flour to keep it from sticking. The top skin of your dough should be getting smooth but tacky, the bottom will be a bit rough with the tucked in corners pulled from the top. Use as much flour as necessary to be able to work with the dough.
- Shape the loaf into an oblong cylinder and slide it into a standard greased bread pan. Allow the loaf to rise again for 20 minutes while you preheat your oven to 400.
- Right before putting the loaf into the oven, score the top of the loaf with ¼” deep cut lengthwise across the top of the loaf. This is not just decorative, it allows your loaf to rise properly.
- Slide the pan into the oven on the middle rack. Bake 30 minutes (the outside should get deeply browned and the internal temperature reach at least 190 degrees), remove from pan and rest for 20 minutes, slice and eat.